This chapter discusses some practical tools every developer should use, with a high level of proficiency. They aren’t the be-all, end-all of being a developer, but they are very good at what they can do.
Plain Text
They provide a compelling argument that using plain text is important. It can be structured (JSON, YAML) or unstructured. In either version, it should be written in a `human-readable` format, not just be human understandable. The difference here is that a random string of letters and numbers is understandable to a human, but it isn’t readable, where the reader can gain insights or understanding.
Shells
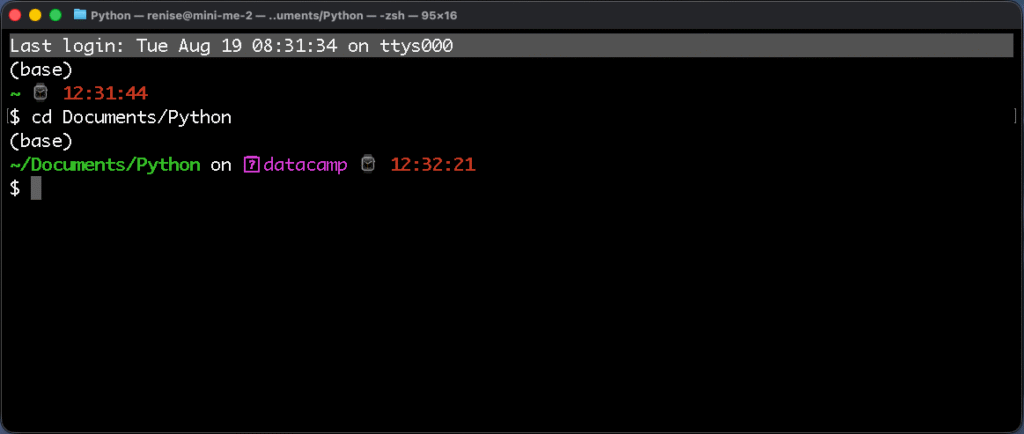
They advise having a bias towards using Shells versus IDEs as much as possible. They are the `workbench` for manipulating files. They can, of course, be customized to your preferences. For example, my shell in Terminal (macOS) will display the current folder and git branch in one line above the cursor.
You can also use aliases to help automate repeated operations to avoid having to retype them manually. For example, I used ZSH at Amazon to create shortcuts for specific terminal commands and options to improve my workflow.
Another useful tip is to leverage command completion. I use command completion all the time, especially when working with Git. I can easily recall previous commands and do path completion when navigating folders and files in Terminal.
My training and work as an engineer at Amazon were more focused on learning to use an IDE (IntelliJ). There was some command-line work, but it wasn’t the bulk of it. As one engineer mentioned to me, today, it’s easier to use a chatbot to learn command-line prompts and shortcuts. We no longer have to memorize them.
Debugging
They offer some sage advice on how to approach debugging without panicking. When I was a new developer, it was definitely panic-inducing to get paged for an issue in a large codebase I was unfamiliar with. I can recall the feelings of helplessness even today.
Their advice, “don’t panic!”
Instead, start to develop a problem-solving strategy for how to squash bugs:
- First, develop a debugging mindset. Remind yourself that it’s only problem-solving
- Start with a clean build. If the build isn’t clean, don’t even bother starting to debug.
- Gather relevant data. Depending on the issue, it could be dashboards, logs, or user-reported information.
- Reproduce them. Recreate the bug to help gain a better understanding of what’s going on and where to begin investigating.
- Write a failing test before fixing a bug. This one is self-explanatory.
- Figure out if it’s a crash, a bad result, or input-value sensitivity. Knowing which one is a good starting point.
- Use binary chop. Similar to a binary search, halve the stack until you isolate the problem.
Binary Chop
I hadn’t heard of this methodology until now. It’s a simple idea that makes sense. Instead of trying to trace a stack with hundreds of lines of information, cut it in half. See if the problem occurs in that half, then continue dividing the stack until the bug’s origin is found. It’s the debugging version of a binary search method.
Many times, I remember seeing a stack trace of an issue at Amazon, consisting of hundreds of lines. This strategy would have been useful back then, but of course, hindsight is 20/20.
Process of Elimination
Identify whether the bug is in your code, a framework from a vendor, or the environment the code runs in. Don’t bypass testing simple lines of code because you assume it’s too simple to cause a bug. Such assumptions will cost time and effort that could be avoided.
Engineer’s Daybook
One advice that I enjoyed reading is their advice to use an engineering daybook. In today’s parlance, it’s a bullet journal, or something similar. It’s a place where you can jot down and reference notes as you go through the day. Later, these can be referenced for a look back in time or to discover new ideas and solutions. I give a big plus one to this.
Conclusion
I found chapter three to be very practical, with tangible advice that an engineer can start implementing immediately. Most of the tools mentioned are free or easy to get. They do require time and commitment to reach a high level of fluency, but are worth the effort, even on a basic level.