Because of the effort and time required to create and scale up a new website, sometimes it’s better to start small. There are many reasons to do this, including money, testing a concept, or simply wanting to start small. Then, as the blogs grow and take on their own identity, you can re-evaluate the strategy or migrate them to their website.
Whatever the case, a WordPress CMS blog gives you the flexibility to share multiple blogs on one site. It simplifies your blog by providing a preconfigured framework for adding content. This means that anyone can quickly launch a website without knowing HTML and CSS.
This strategy is being used for this website because I was unsure of what content type or how much I would write on each blog: Coding or French Fluency.
So, it made sense to start both blogs hosted on the same site. Then as they evolve and grow, evaluate them and make a decision about mid and long-term hosting. This is easy enough to do, but does require some consideration.
The Big Picture
By default, each WordPress site is configured to host one blog and one home page. But because of the platform’s flexibility, multiple sites can be hosted with a few tweaks. Because WordPress does preconfigure a site’s framework, to host multiple sites, you only have to consider these key WordPress features to get started: widgets, menus, and pages.
To share two blogs on one site, you must define these three areas for each blog:
- Widgets, such as sidebar widgets, contain information relevant to the site, such as recent posts, pages, and search.
- Menus are used for navigation around your site. It’s how visitors find your content.
- Pages are used to showcase your content, including posts, which are a special type of page.
Pages
Let’s look at what WordPress features help you show your blog to visitors.
The first is that your blog post feed defaults to any blank page, which, once published and configured as your blog posts page, will display all posts published on your site. The name of the page doesn’t matter; you can use any name, but it’s commonly named Blog.
When you specify this page as your blog posts page in Settings|Reading, anytime this page is loaded it will display all of your posts. As you create posts, they will appear on this page in reverse chronological order (newest to oldest).
This default option can no longer be used if your site hosts multiple pages.
Menus
Depending on your theme, WordPress allows you to create custom menus, and as such, there should be a set of menus per blog. The menu on the home page can be inclusive to let new visitors know what’s available. Still, ideally, once they navigate into the content for either blog, the menus should be blog-specific.
Widgets
Widgets are units of code that allow WordPress site owners to quickly display a list of pages, tags, and categories, to name a few. Each widget offers customizations such that you can control what content is visible. For example, a categories widget can be filtered to display specific categories or subcategories.
Keeping our focus on these key areas, we’ll explore a strategy for hosting multiple blogs on one WordPress site.
A Simple Strategy
To configure a multi-blog WordPress website, the default configuration has to be bypassed so that your posts from each blog will appear separately. The simplest strategy is to use categories, pages, menus, and widgets. For this example, we’ll use a scenario where you want to host two blogs on one WordPress CMS site.
Categories
Thinking about your content, consider what master categories you will use for each blog. There can be subcategories under each master, but having two master categories, one per blog, is key. On my site, the two master categories I created are ‘Coding’ and ‘Français’. When I publish a new post of each type, it’s assigned to either category.
You can create subcategories under each main category, and they will also appear in the list of posts for the master category to which they belong. As you write posts, assign them to at least a master category. You don’t need defined subcategories to separate the content for both blogs.
Then use these categories in blog-specific widgets for all relevant pages. To maintain the separation, all pages and links for each blog should be focused. That means creating a sidebar widget and menus for each blog.
Menus
Header Menu
Starting with the header menu, create custom header menu items, one for each blog. These additional menu items will be in addition to those you already have, such as a link to your home and about me pages. Starting with a unified header menu is the simplest option, as creating multiple header templates may require editing PHP code.
The goal is to ensure that once a visitor engages with one of the blogs, the header menu will allow them to navigate to your other blog(s) or the home page. Once a user navigates away from the home page, they will have this global header menu available.
For example, on my home page, the header menu bar contains a link to posts from my coding and French-language blogs. Clicking on each menu item takes you to a page that only contains posts for that category.
Widgets
The ease with which you can create new sidebars depends on your theme. Some themes are configured to allow multiple widget sidebars, while others are not. For my site, I’m using the Twenty Seventeen theme because I like its clean, simple design. However, it only allows one sidebar. To create multiple ones, I had to modify the theme’s PHP code. If this is the case with your site, contact me, and I’ll try to provide assistance for your theme.
Pages
The third component to consider in our multi-blog strategy is Pages, which will require consideration and planning. Without the default Blog page, you will have to create two new pages, one for each blog, with a Latest Posts block to display posts by the master categories you established earlier. For each page, specify one master category to use, even if it has subcategories.
Any links you share for each blog should direct visitors to only the content you want them to see. With this strategy, there will be one home page, but since you can make it static, you can design the page to introduce both of your blogs. This strategy will eliminate the use of the default blog page configuration that WordPress expects in settings.
The home page should be configured as static in Settings>Reading. This will allow you to add any content you desire. For example, you could make the homepage be the home page for your priority business. Or, you could make the home page an introduction to both blogs.
If you create a new page, it should be specific for each blog and include the relevant widgets and links. Because pages can’t be assigned to a category, you will have to manually populate it with relevant content. Be mindful that WordPress allows you to create pages similar to posts using blocks, so you don’t have to learn HTML or CSS.
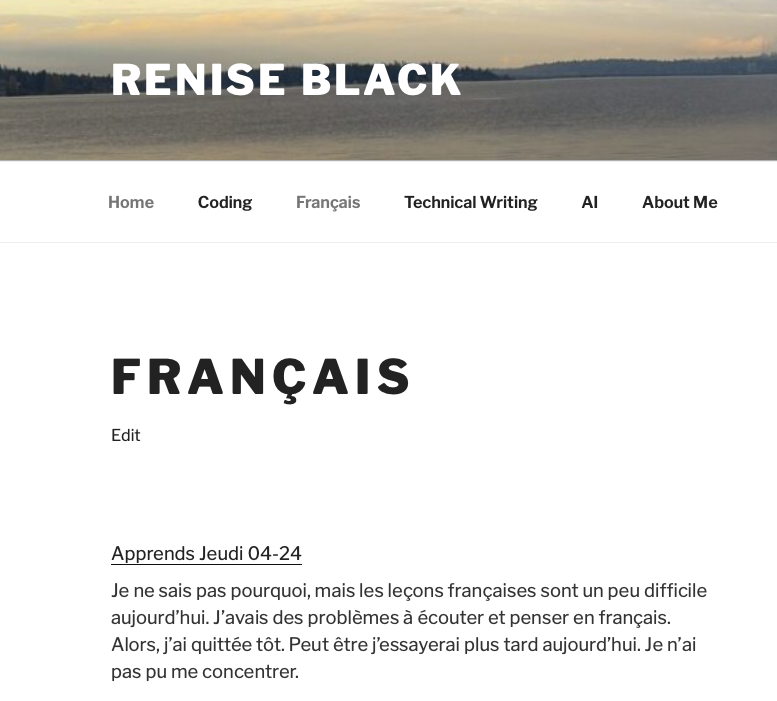
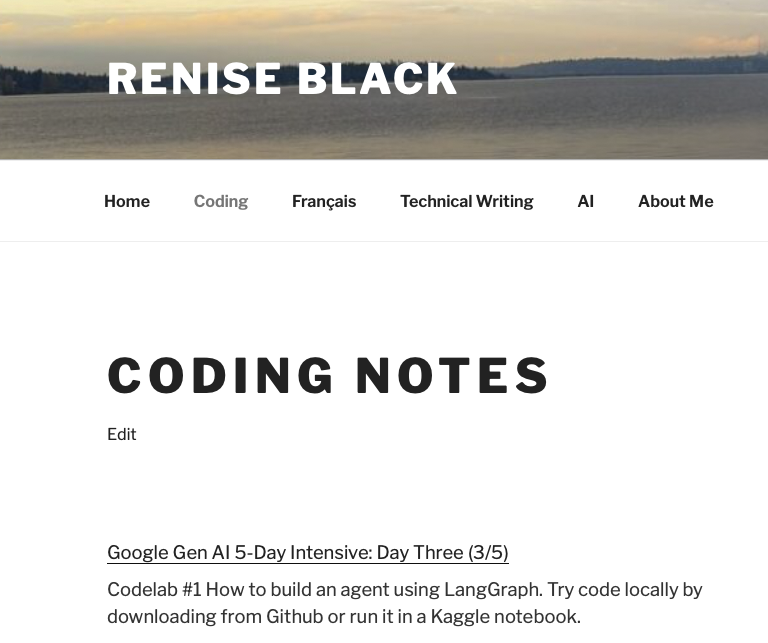
On this site, I added a posts page for each blog and used the Latest Posts block to show recent posts. For my French blog, I created this page which contains my French language posts in reverse chronological order. For the coding blog, I created this one.
Posts
When I create a new post, I use add links to recent posts filtered by category at the end of each post. My site is fairly new so I expect that over time I can add more related content blocks to a post. This way, when a visitor wants to see more content from one of the blogs, they can use either the sidebar widgets or the latest posts content block. Of course, you can also include links to related content anywhere within the post, not just at the bottom or in the sidebar.
Specifying Sidebar Content
Each page and post for both blogs should contain topic-specific sidebar widgets, menus, and content. Depending on your theme, you may need additional plugins such as Content Aware Sidebars. Content Aware Sidebars lets you specify the content of existing sidebars. It doesn’t create them for you though, so if your theme doesn’t contain a sidebar, you’ll have to edit the theme.
Here you can see the sidebar content specified for posts and pages for each blog.
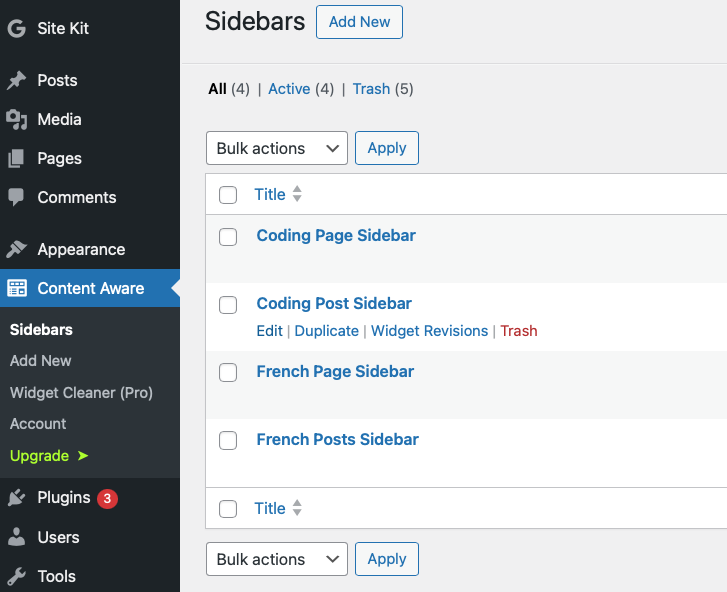
Then, within the Coding Page Sidebar, a condition and an action have been created.
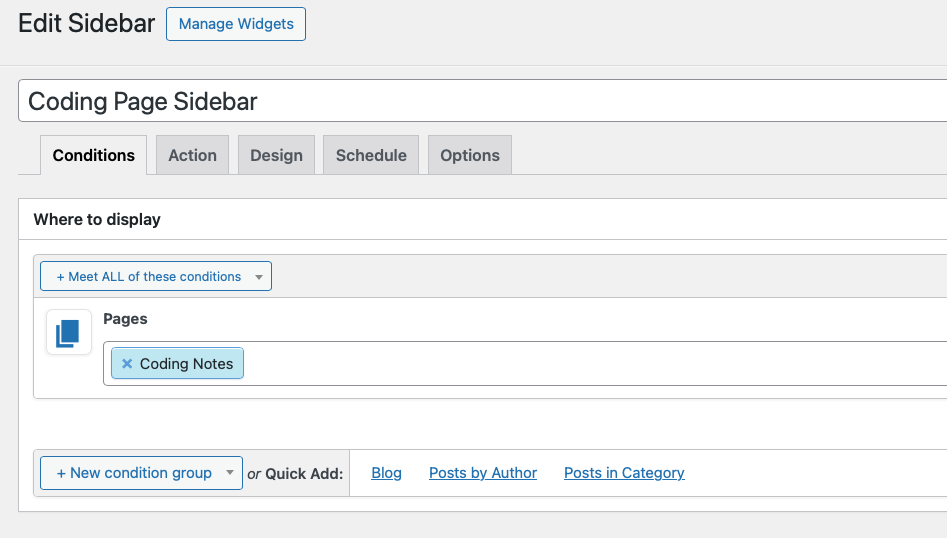
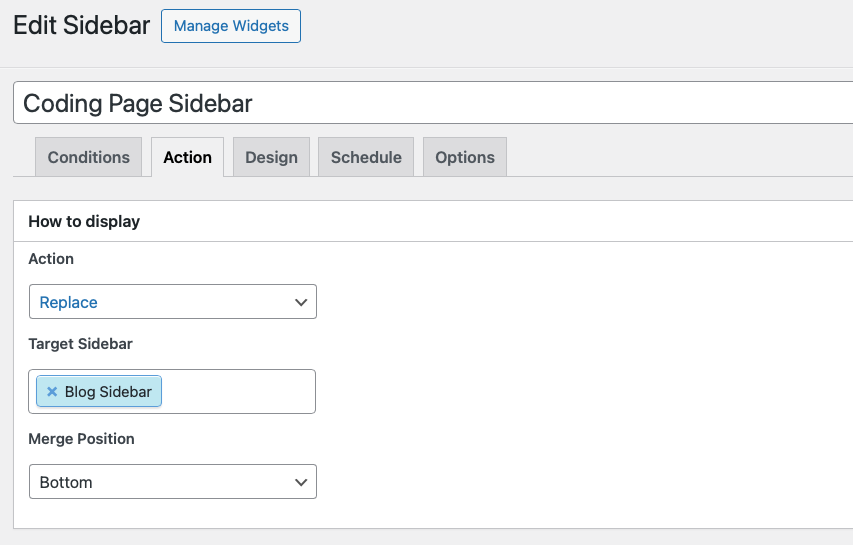
Content Aware Sidebars configuration can be bit confusing at first, so the included screenshots should be helpful to understanding how to create a sidebar configuration. The plug-in does come with many more options, but it’s best to start simple then customize it as needed.
A Note of Caution
The amount of content that you can add to either blog depends on your hosting plan. If your plan allows a small amount of space but your blogs will contain video-rich content, then you may have to either upgrade your hosting plan or split your blogs into different sites sooner rather than later. If it’s a text and image-based site, you’ll have more time to develop your blogs before deciding to split them up.
Conclusion
You’ve seen one idea for how to separate multiple blogs on one WordPress site. The solution you create will most likely look different from mine because it depends on your theme and how far you push your customizations.
Whether technically savvy or not, the main goal is to control the sidebars, pages, posts and content that visitors will see. If you can devise a strategy for managing them you will be able to host multiple blogs with a reasonable amount of increased administrative overhead. Once you have these basic features configured, then you dig deeper into other parts of your blog such as your homepage and header menus.
Dear Renise
I read your post and took this assignment on, and although there were moments where I wish I had not, I am very glad that I stayed with it. Thank you for posting these detailed instructions. Thanks to your guidance my InwardConnection.com and my GutBrew.com now appear to be individual sites with their own footers, sidebar and menus.